Records are defined as the recipients of the cases. These could be customers, vendors, employees, among others. You can create records manually or Import your record list using a Microsoft Excel file.
In order to create a record, you will need the following items:
Full Name: First and last name of the record.
Code: A custom code that defines the record (e.g. Social Security number, initials, member number, etc.).
Record type: A template to add additional information about the record. The default type does not contain additional fields of information for the record. You can create a new type in the Templates section.
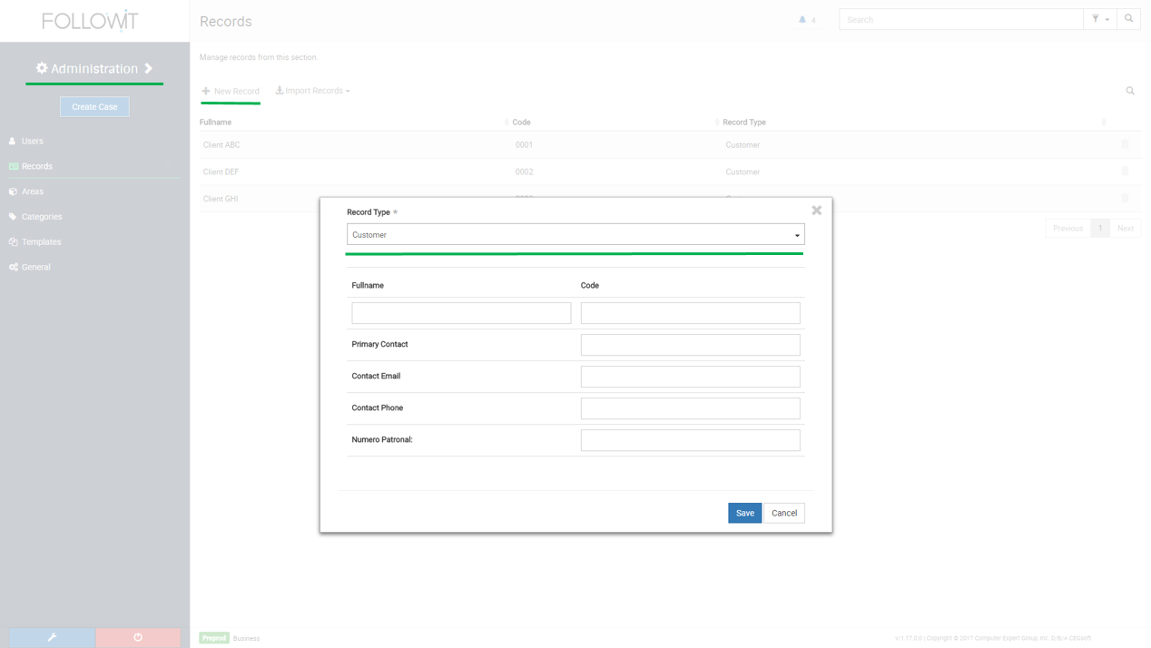
To create a record manually:
Navigate to Administration > Records.
Click on the “New Record” button at the top of the screen.
When the New Record windows pops up, select the Type.
Fill the necessary information including Full Name and Code.
Click Save to apply the changes.
After saving, the record will appear on the list in the Records section on Administration. You can choose to edit or delete the record from this list (only if the case hasn’t been created yet).
Import Record List
You can create your records by importing a list in a Microsoft Excel file. To import your records you need to download the Excel template first.
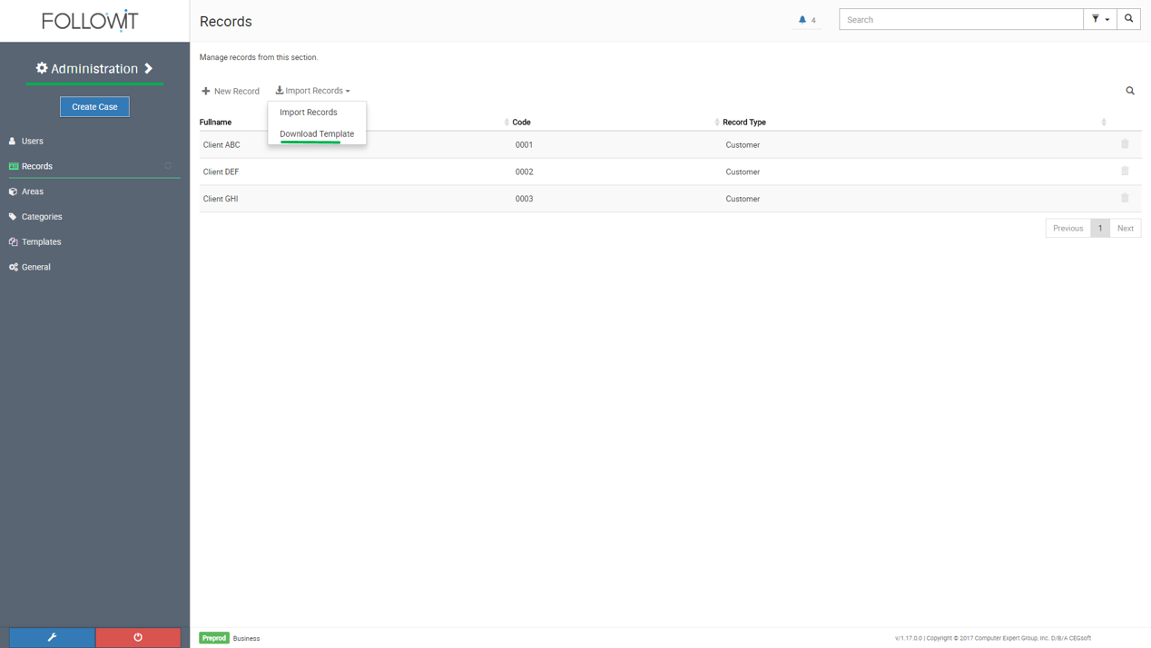
To download the template:
Navigate to Administration > Records.
Click on the “Import Records” button.
On the dropdown menu, select “Download Template”.
The template will download directly to your internet browser and to your Downloads folder where you can then locate and edit the file with your record’s information.
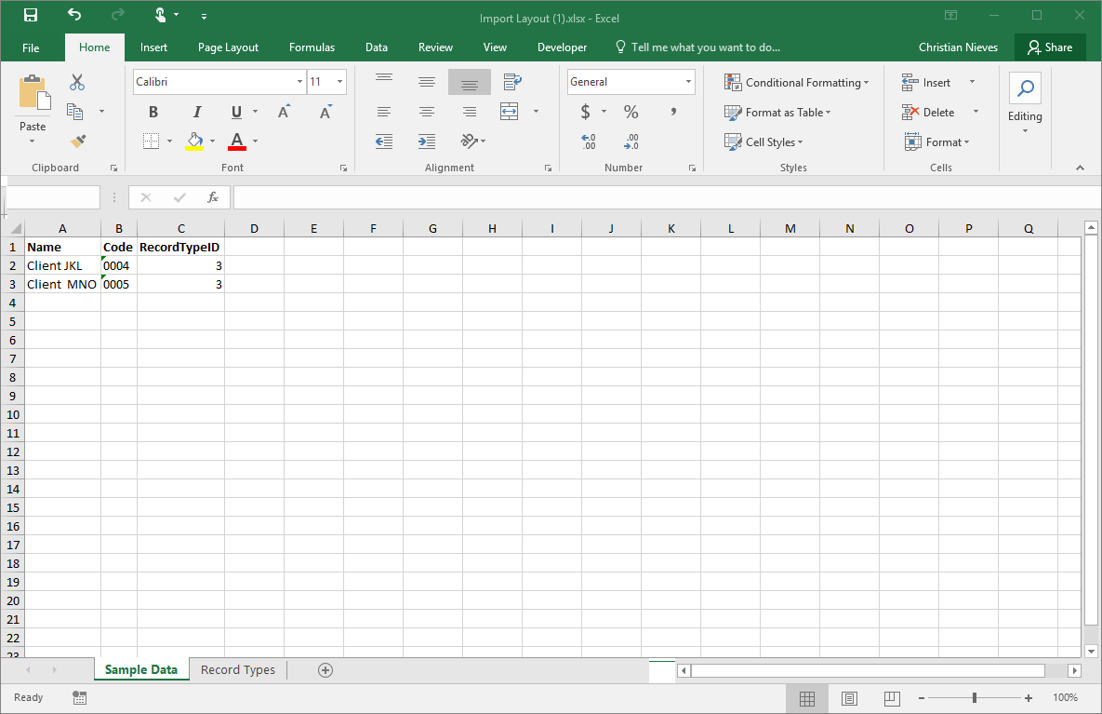
The Excel file contains three columns:
Name: Full name of the record.
Code: Custom code to define the record (e.g. Social Security number, initials, member number, etc.)
CustomRecordId: This is the ID for the Record type. You can find these defined on the Record Types worksheet on the same Import Layout.
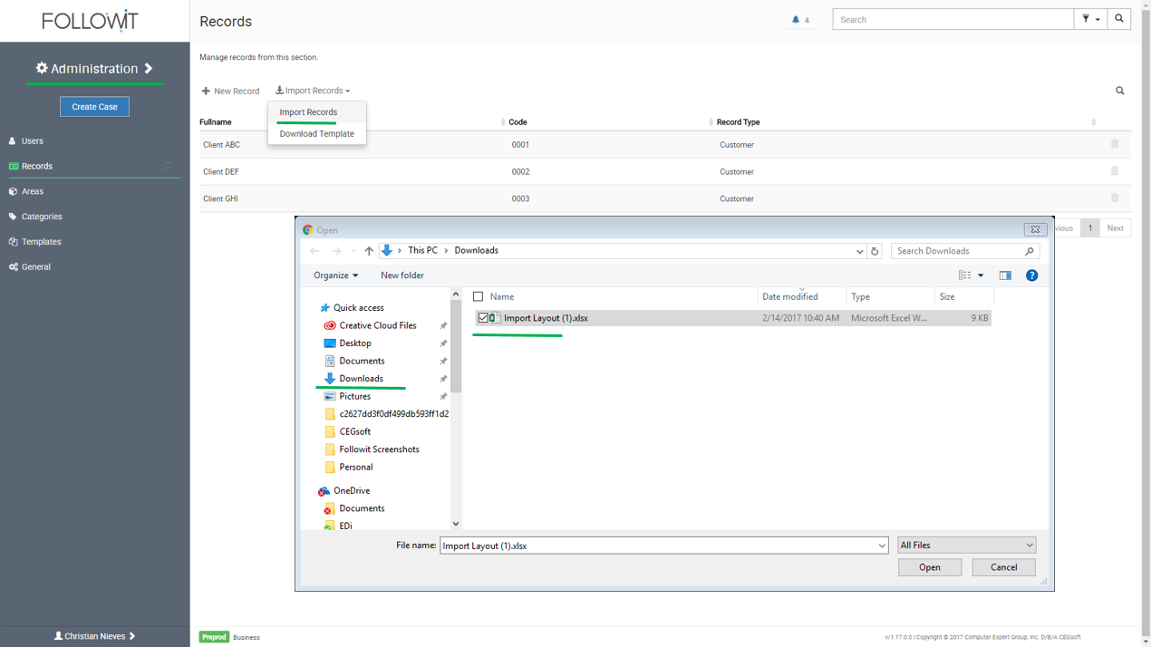
After editing and saving the template, to import it:
Navigate to Administration > Records.
Click on the “Import Records” button.
On the dropdown menu, select “Import Records”.
A file browser window will appear where you can search for the file on your computer, select it and then click Open.
This will trigger the Import process, which will analyze the file contents. If there are errors, they will be shown on the process window where you can download an error report. If there are no errors, the records will appear on the list in the Records section on Administration. You can edit or delete the record from this list.